Placement Requests - (PA) - Creating Multiple Days of the Week Choices (Shifts) for Students in a Group Course
Placing Agency Related Guide (PARG)
Summary:
Create different days of the week in a group request within the same course so that students can select Destinations AND days of the week (or various shifts):
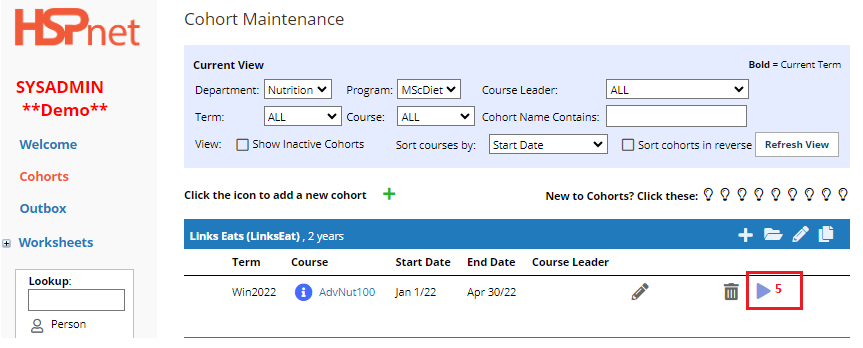
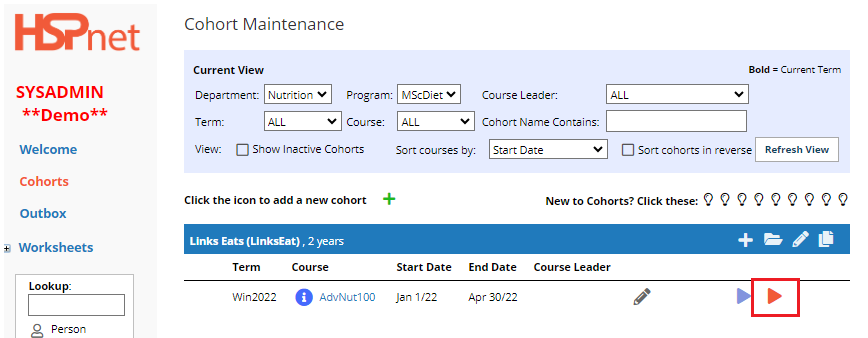
- Click Cohorts.
- Click the edit icon beside the course you want to set up.

|

|
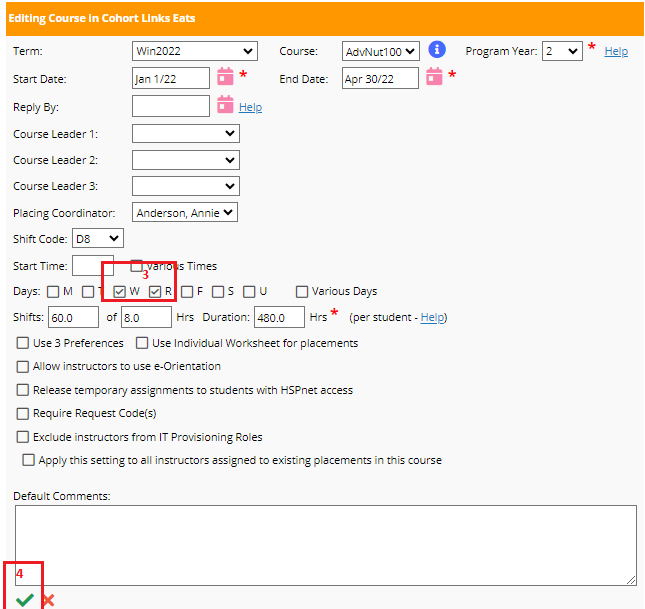
-
Click to place check marks on the days W and R (Wednesday and Thursday). The default shift code below is D8 – Days, 8 hour shifts. 
-
Save the changes with the green check mark.
|
|
5. Click the enrollment worksheet icon.
|

|
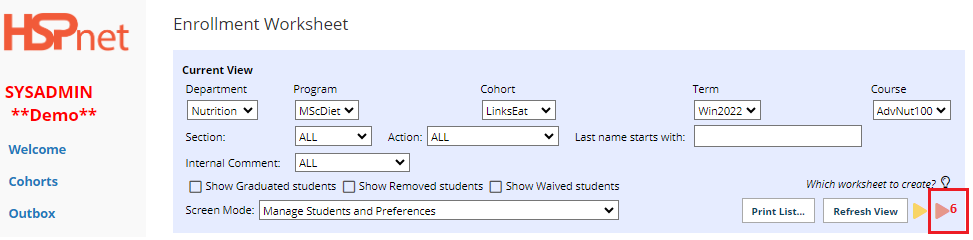
6. Click the Create worksheet icon 
|

|
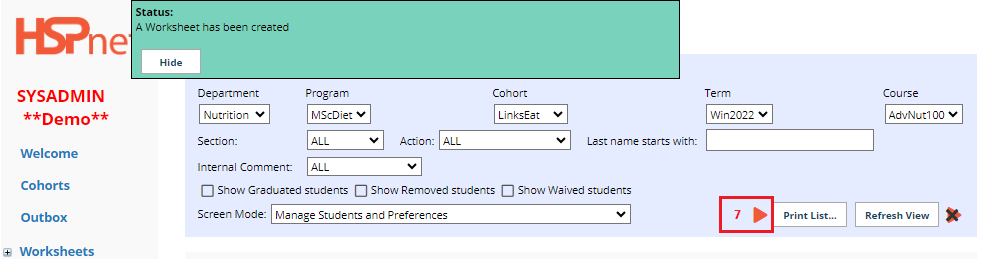
- Click the new go to button
 to go to the new worksheet. to go to the new worksheet.
|

|
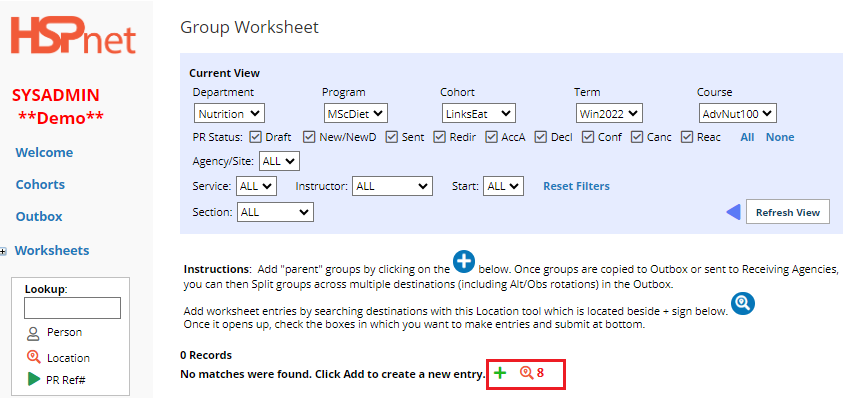
8. Add the locations for Wednesday and Thursday.  
|

|
- If using the look up , select the destinations by clicking to place a check mark in the box to the left of the desired destinations.
|

|
|
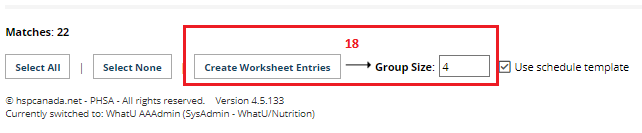
10. Enter the group size field and click: Create Worksheet entries.
Click: Close window and refresh view.
|

|
|
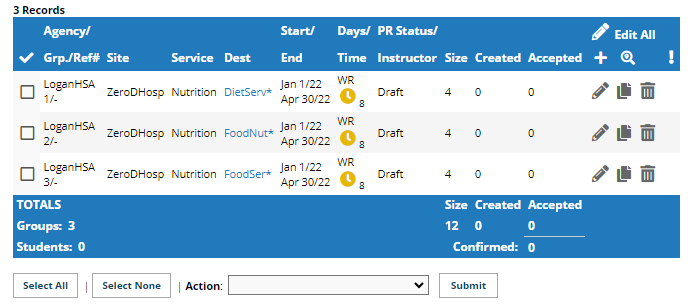
11. You now have the destinations in the worksheet for Wednesday and Thursday
|

|
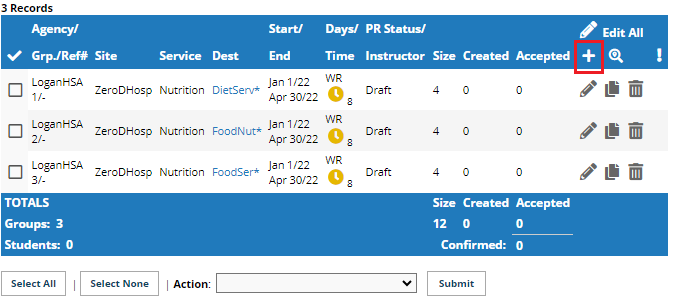
- Click the white add icon on the worksheet. (There are two ways to complete this; the first way shown below is the easiest way. The second method can be located at the bottom of the screen).
|

|
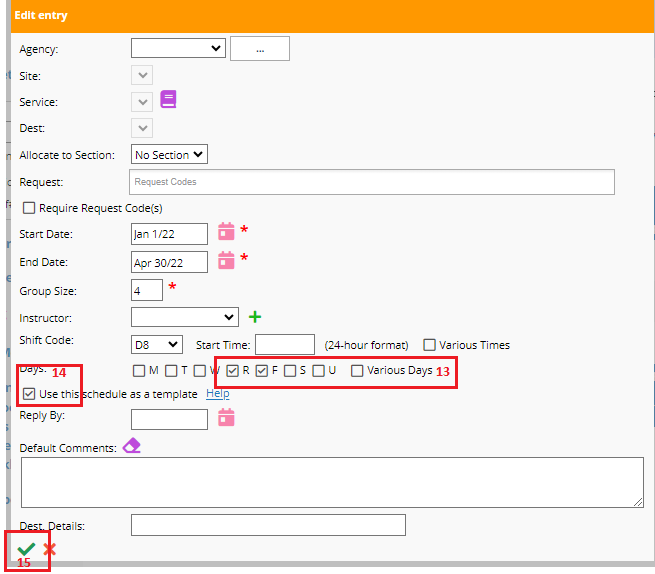
-
Click to remove the check mark for Wednesdays, and click to add the check mark for Fridays. You also could select different shifts – the shift code below is D8 (days 8 hours) but you could make it E8 (Evenings 8 hours).
-
Click the box in front of: "Use this schedule as a template."
-
Save the changes with the green check mark.
|

|
- Click the location look up to add new destinations. These new destinations/requests will follow the days of the week and dates as per the dates and days shown on the entry with the icon: "Use This Schedule as a template."
 (You can use the edit icon to change the dates on your template). (You can use the edit icon to change the dates on your template).
|

|
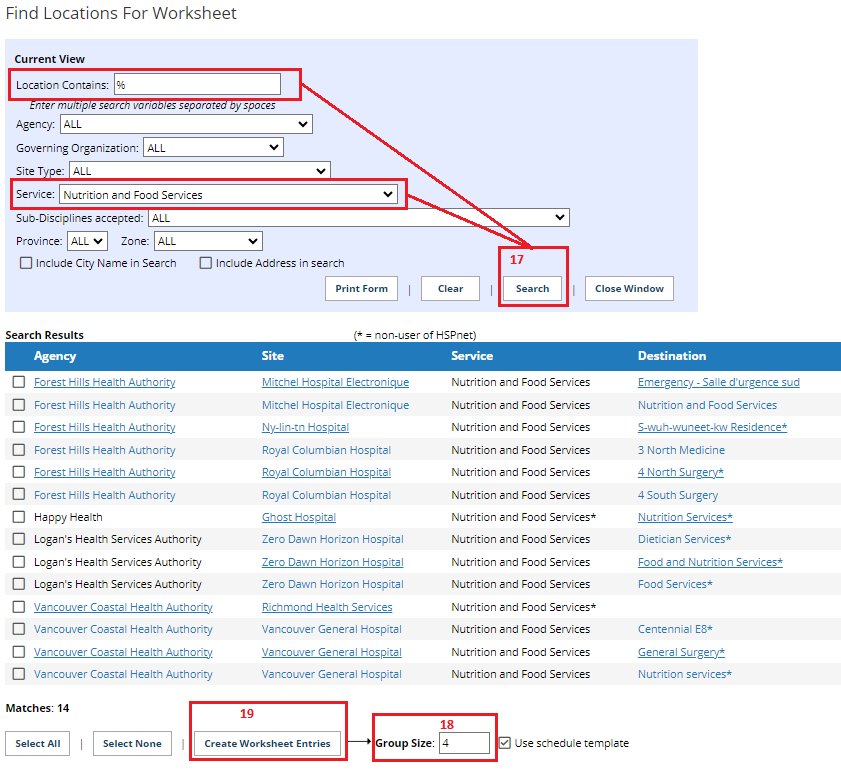
-
Perform your location search. Select destinations by clicking to place a check mark in the box adjacent to them
-
Enter Groups size
-
Click "Create Worksheet Entries." Then click Close Window.
|
|
Thursday Friday entries have been added.
|

|
Alternate Method Continued from Step 12 Above:
-
Click Cohorts (Or see an alternate way to do this – skip these steps and resume on page 8 at step 12).
-
Click the edit icon
|

|
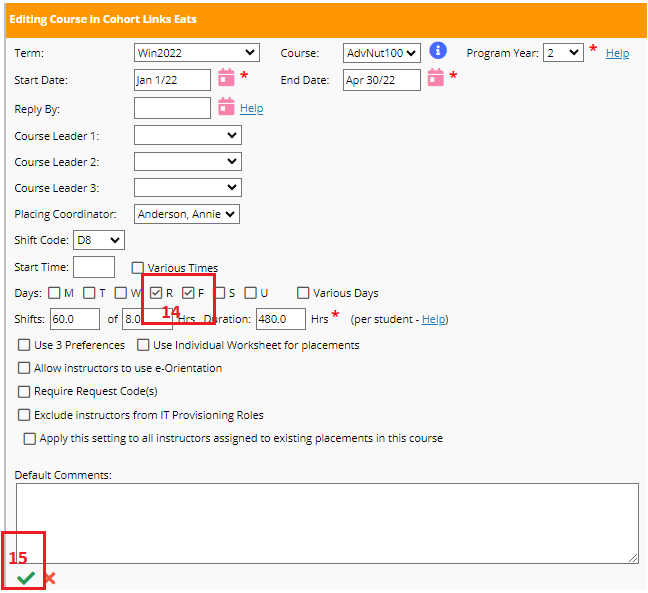
-
Click to remove the check mark from Wednesday, and click to place a check mark for Friday.
-
Save the changes with the green check mark .
|
|
- Click the enrollment worksheet icon
|

|
- Now add the destinations for Thursday Friday (can be the same destinations). Click: or
|

|
- Enter the group size and click Create Worksheet Entries. Click: Close Window and refresh view.
There are now entries for both Wednesday and Thursday, as well as for Thursday and Friday.
|

|
|
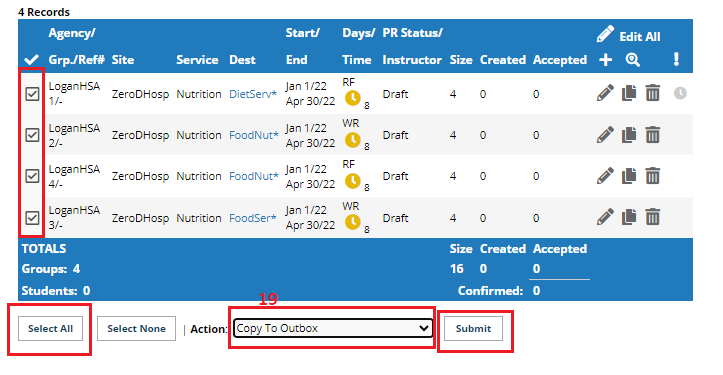
19. Click Select All and use the action drop down to copy to outbox and click submit.
|
|
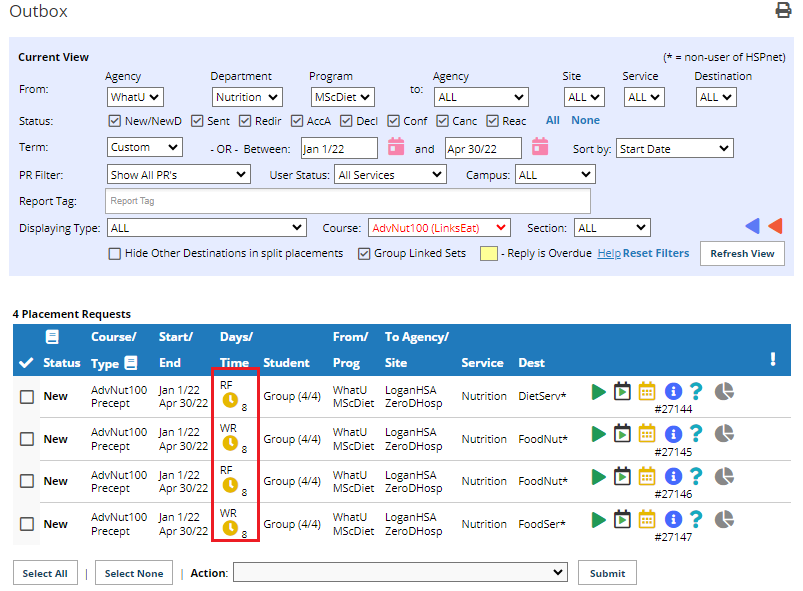
| You now have a mix of Wed/Thurs and Thurs/Fri mix in your outbox that can be sent to the receiving agency. |
|