Student Guide - Account Overview
Placing Agency Related Guide (PARG) Student Related Guide (SRG)
This is a copy of the Student Guide that is located in the Student's own Knowledge Base Lite which is accessed when a student logs into their own HSPnet account. This page is here for reference for Placing Coordinators for what your student will see.
Summary:
This guide on Student Access explains how to:
- Login to HSPnet for the first time
- View current placements, Shift Schedules and placement details
- Communicate with key contacts
- Print a Schedule on a local printer
- Placement History tab
- Consent of email to be released to Health Authority
Associated Icons
  |
Group, Individual Shift Schedule |
 |
Document Attached |
 |
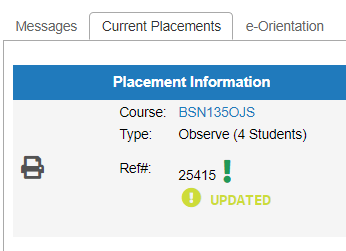
Change since last login |
 |
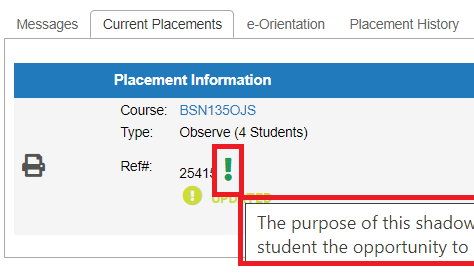
Comments exist on the Placement Request |
  |
View Phone number, send Email |
Background
HSPnet is a web-based system for coordinating student placements. Students can access HSPnet in their province to view and print information about their upcoming placements, to communicate with key contacts, and to view or print placement details and schedules. Students can also consent to releasing their school based email address.
|
Step 1 – Login to HSPnet for the First Time
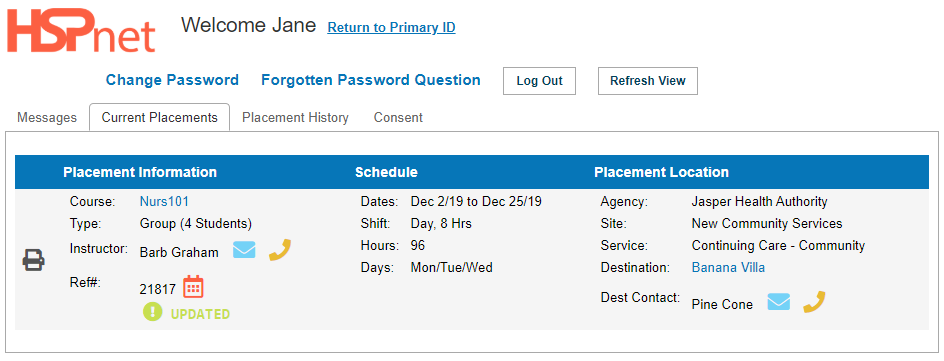
Upon successful login you will be directed to your Welcome Screen and a display of current placements:
Here you will find all the information about your placement.
In the example on the right, it shows that this is a Group placement of 4 students with the dates of Dec 2 to Dec 25, 2019. The days are Mon, Tues and Wed with 8 hr day shifts. A total of 96 hours is scheduled for this placement per student. The
4. Click |
|
|
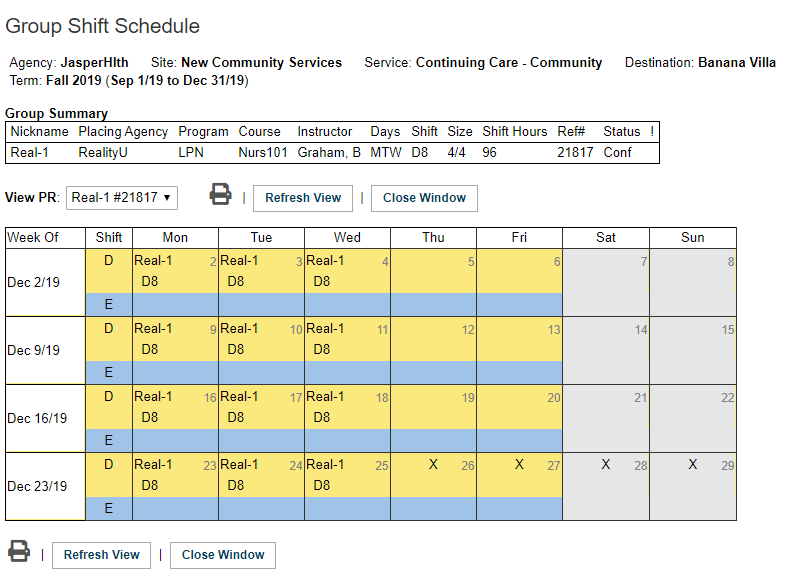
Step 3 - View or Print a Shift Schedule
D8 means an 8 hour shift in the day. E8 means an 8 hour shift in the evening. N8 means an 8 hour shift in the night. |
|
|
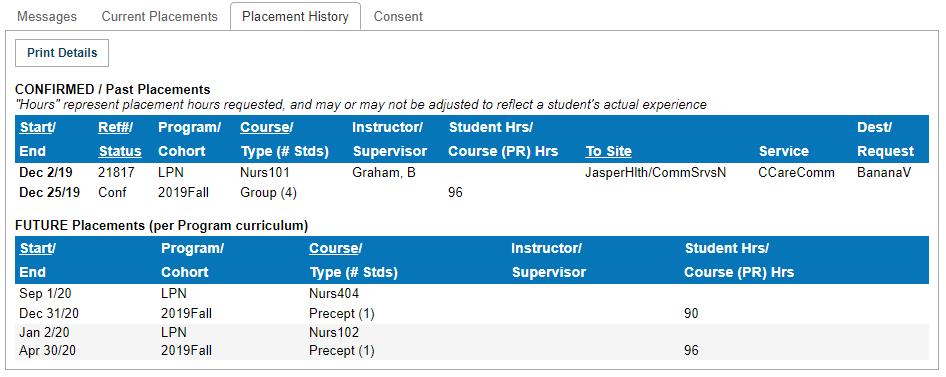
Placement History tab
The Placement History tab will show you your past and future placements. It will also show you that amount of hours per placement.
Once a future placement becomes current, it will move to your Current Placements tab automatically.
Once a current placement ends, it will move to the Placement History tab automatically. |
|
|
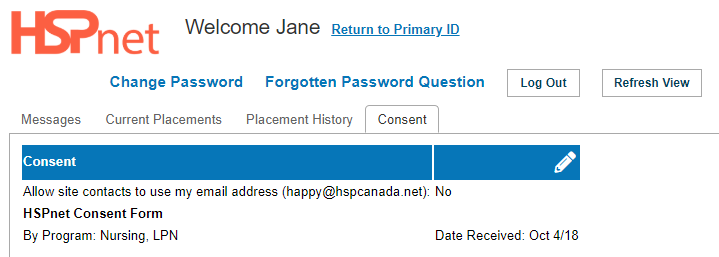
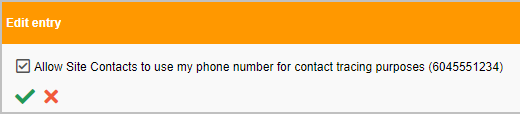
Consent tab
A student e-mail address can be visible in the details of a student placement request for the Receiving Agencies to view, provided the student authorizes this on the consent tab in their user account.
Student logs in:
|
|
 `
`