Student Admin - Student User Accounts - Advanced Access
Placing Agency Related Guide (PARG)
Summary:
Student Access to HSPnet is mostly read-only and does not permit the students to edit information entered on their profile. It is possible to grant Advanced Student Access in order to permit students to upload documents for review by the Placing Coordinator for release to Sites. This guide explains the steps for enabling Advanced Student Access.
Requirements
- Contact HSPnet Support and provide a list of specific Programs for which you wish to enable Advanced Student Access. You will also need to provide the standard email format issued by the school (see below).
- All students must have a school-issued email address entered into their Profile, and the emails must match a standard format. This standard format is what will be entered into the Program Profile by HSPnet Support and is mandatory for activating Advanced Access. An example of “standard format” has been provided below. Contact HSPnet Support to get that entered.
We also have a 44 minute Webinar called: Student Admin - Student User Accounts - Advanced Access Webinar
|
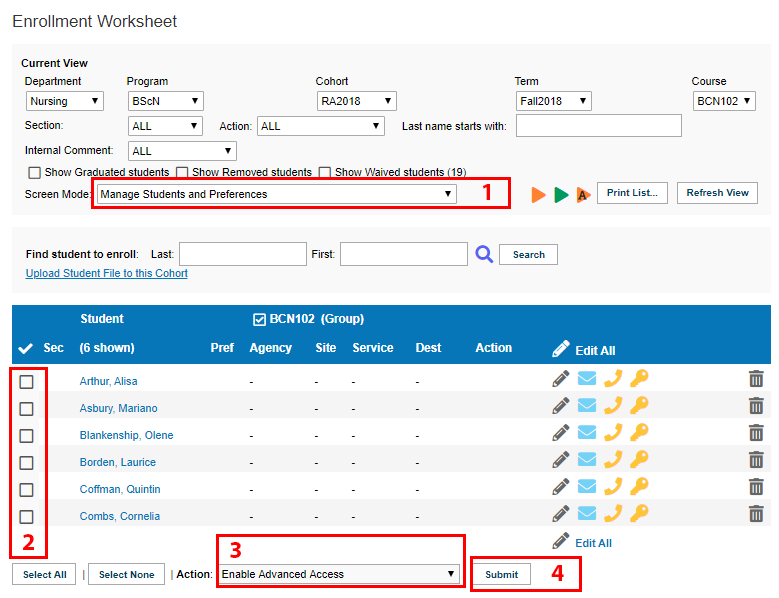
1. Enable Advanced Student Access via the Enrollment screen:
If students already have active access to HSPnet, and you enable advanced access, these students will also receive an e-mail and a new temporary password. |
|
|
|
|
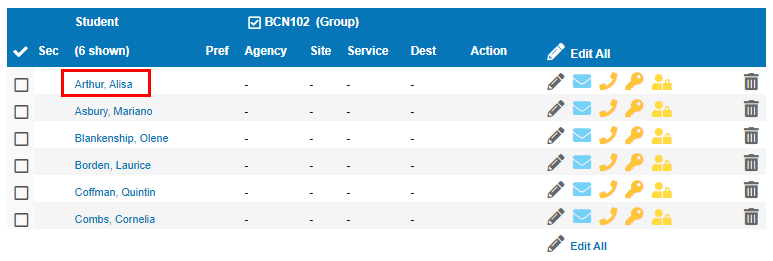
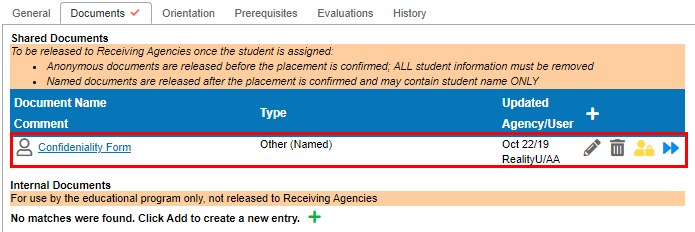
2. Monitor Student Documents (Student Profile):
|
|
|
|
|
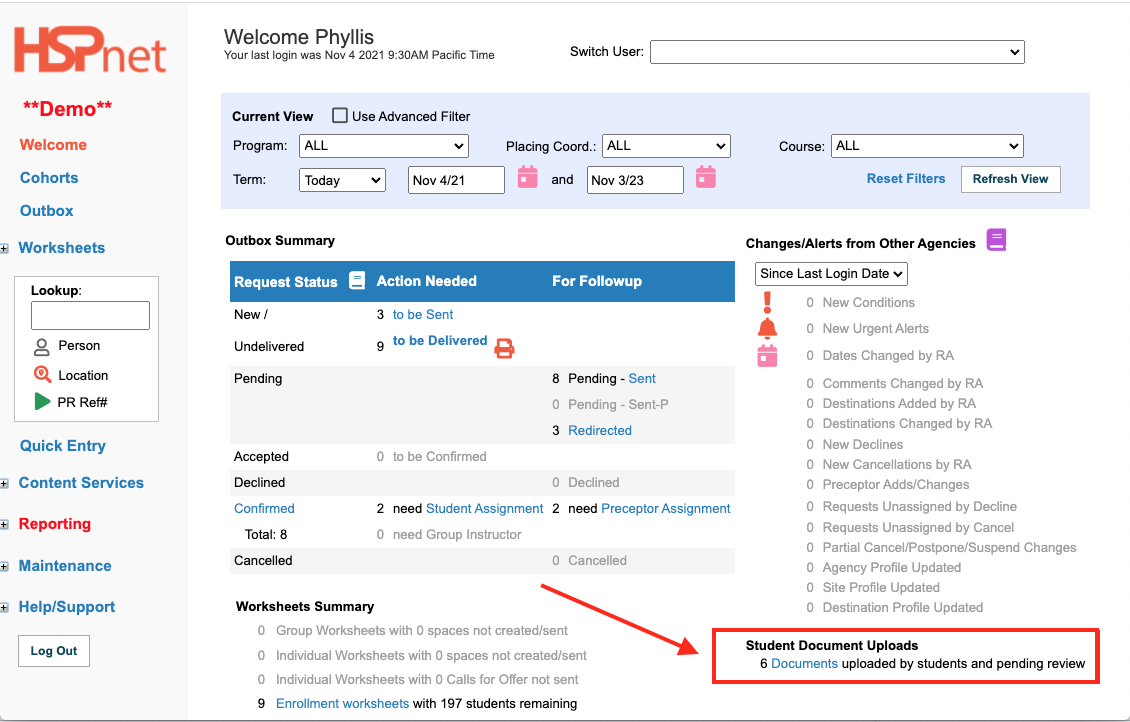
Whenever a student has been granted Advanced Access and uploads a document to their profile, you will also be notified via your Welcome screen.
Click the link to view the documents and you can approve/release them from here. |
 |