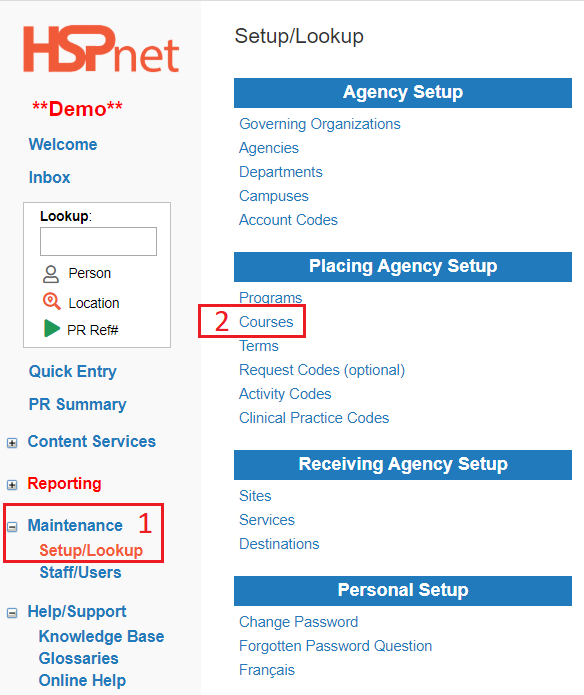
Courses - Create a New Course
Placing Agency Related Guide (PARG)
Summary:
- How to create a new course. New courses will appear in light grey font until they are used in a cohort or quick entry; courses not used in the past two years also revert to a light grey font but still may be used.
- Populate the Course Profile.
|
|
|
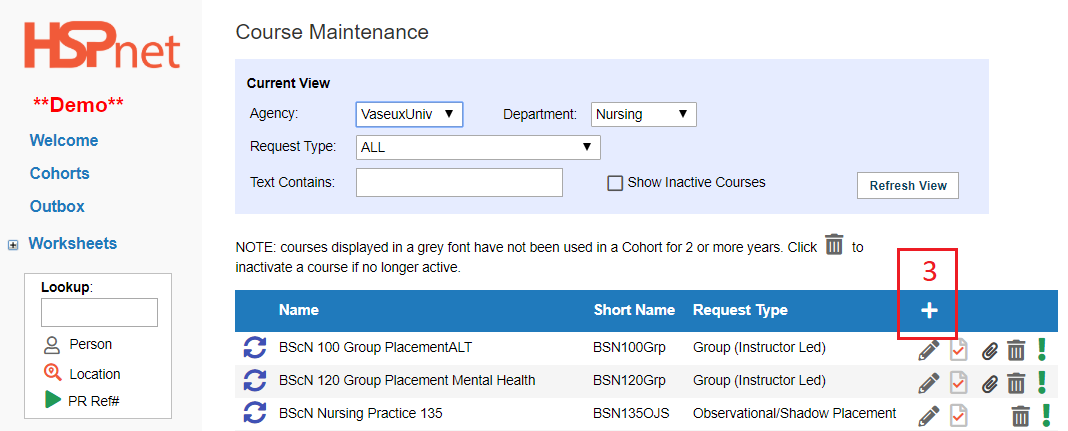
3. Click the add |
|
|
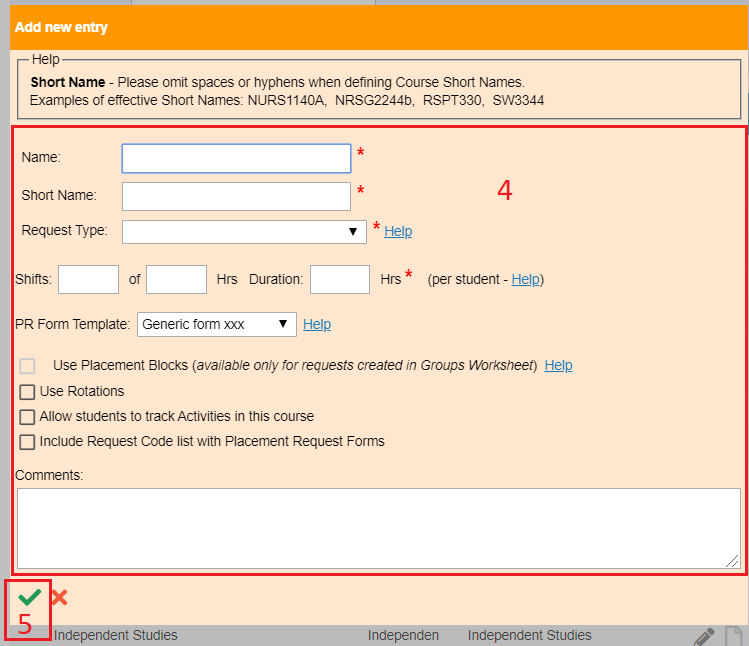
4. Give the new course:
5. Save the changes with the green check mark
Click the sub-links in the text above to learn more about those features. |
|
|
|
|
|
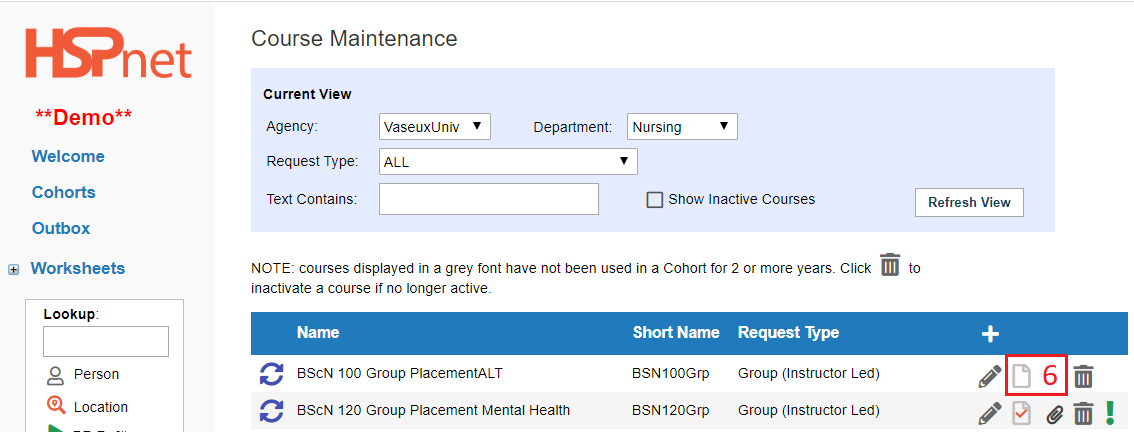
Populate the course profile: 6. Click the profile icon adjacent to the new course to enter details about the course.
This information is important to fill out. Every single Placement request you make has a link to this information. When this information is not entered, the Receiving or Destination Coordinator may decline your request if they do not understand clearly what the course is about, particularly if they have more requests than they can accept and the other course placements they are considering do provide this information. This information will also be accessible to any course leaders and instructors you have assigned to the placement request, if you issue HSPnet user accounts to course leaders and instructors. Additionally, Receiving Agency supervisors with HSPnet user accounts will also be able to see this information. |
|
|
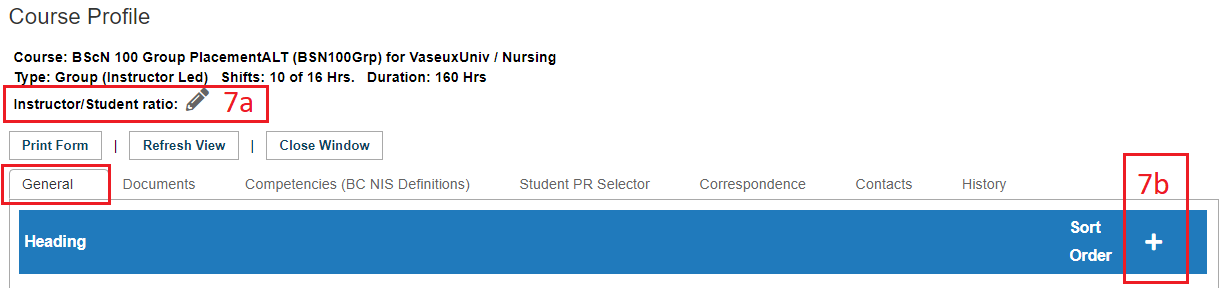
7a. Click the edit icon 7b. In the "General Tab" Click the add icon |
|
|
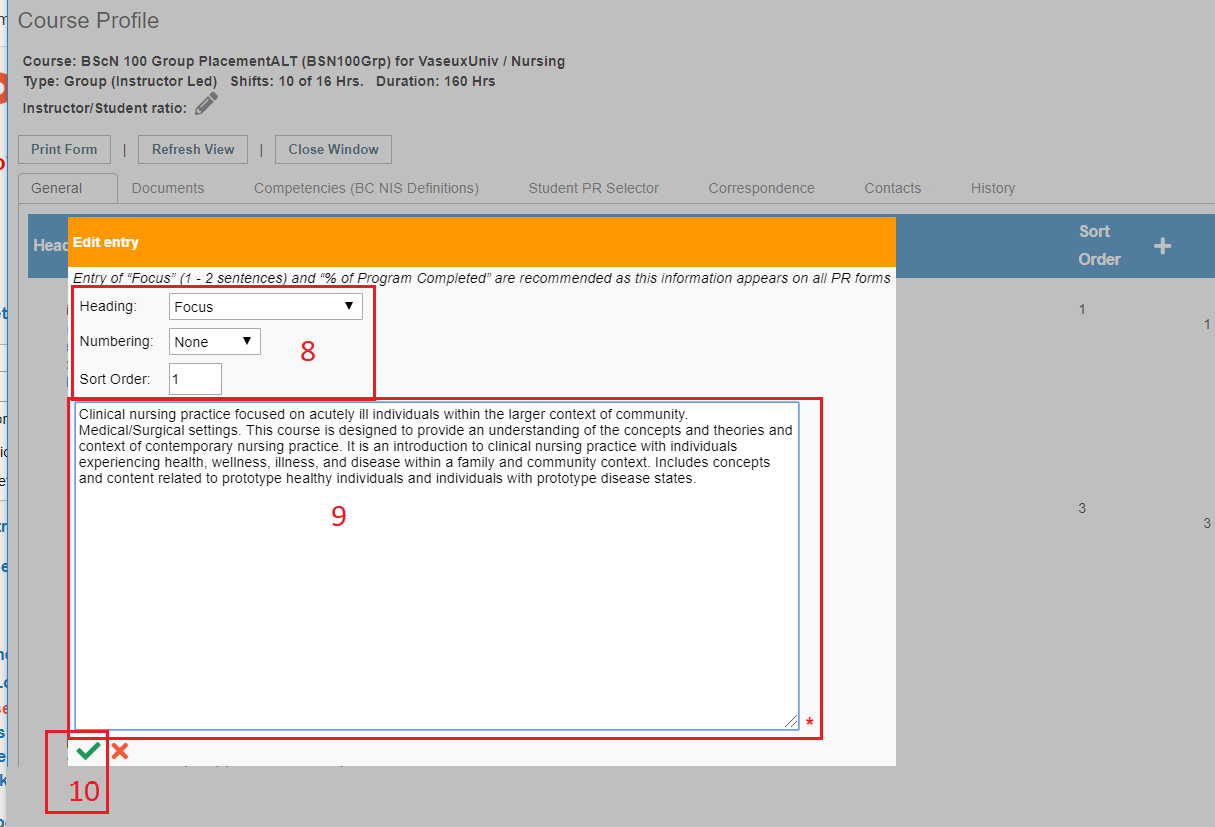
8. Select headings from the drop down lists if desired (Heading/Numbering) and enter a number in the sort order field to determine how the information should display. 9. Enter text. 10. Save the changes with the green check mark |
|
|
|
|
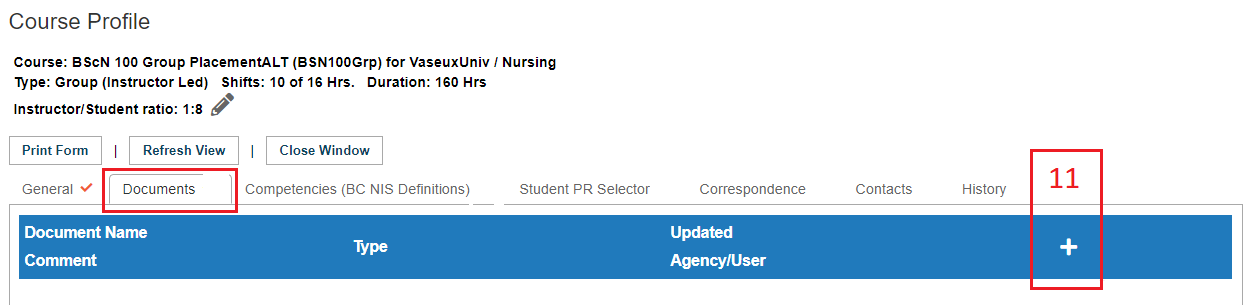
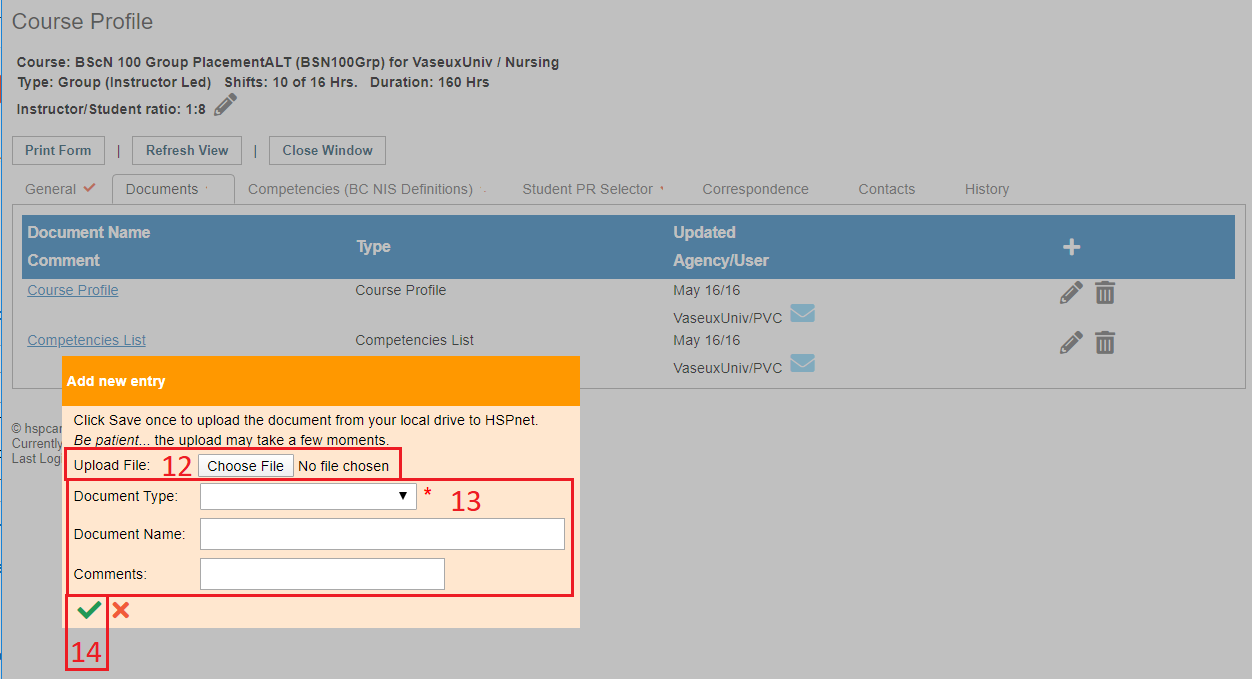
To Upload documents: (EG: Course manuals, assessment forms, Syllabus, instructor or preceptor guides). This information is also linked to every single placement request and can be accessed by HSPnet users: Receiving Coordinators, Destination Coordinators, assigned Course Leaders and Instructors and Receiving Agency supervisors who are assigned to a placement request.
11. Click the add icon |
|
|
12. Click "choose file," and locate on your computer 13. Identify the type of document, name and comments 14. Save the changes with the green check mark and use "Close Window." New courses will appear in light grey font until they are used in a cohort or quick entry; courses not used in the past two years also revert to a light grey font but still may be used. |
|
|
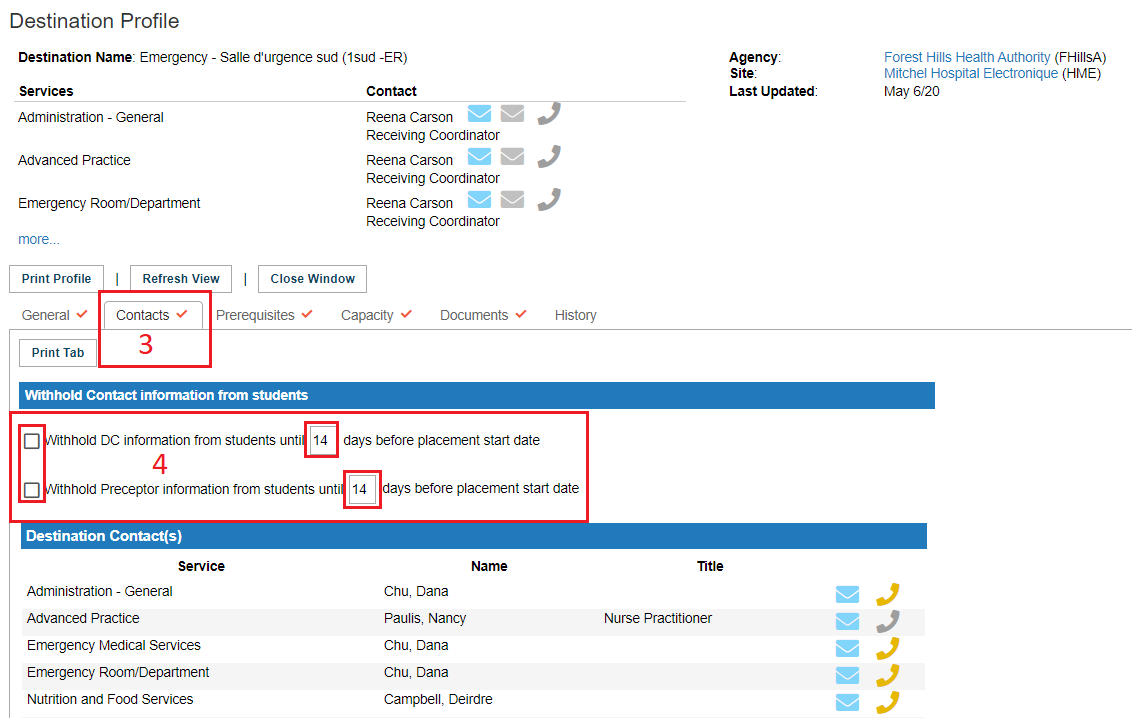
Use the contacts tab to limit student contact with instructors, destination coordinators and supervisors:
|
|
|
Other Useful Links to help you populate a course profile:
|