Supervisor Role - Workflow Guide
Receiving Agency Related Guide (RARG)
Summary:
On the HSPnet system, a Supervisor is a staff member assigned to supervise a student during a clinical practice education experience. Other terms that may be used for this same position are: Preceptor, Clinical Instructor, Clinical Educator, Fieldwork Guide, or Mentor. Your role will use whichever of these names your department is set up to call them at the organization where you work; placement requests may use different terminology, depending on how the school has set up the role name in their department at the Placing Agency.
This guide explains HSPnet access for Supervisors (Preceptors and Clinical Instructors) including incoming Messages, the Inbox of placements assigned to you, and access to online profiles for destinations where students are being placed.placed,

Background
HSPnet is a web-based system for coordinating student placements in a province It was introduced in 2003 and is now used in several provinces across Canada. Supervisors can access HSPnet in their province to monitor placements assigned to them, to communicate with site contacts, and to view or print placement details and schedules. Supervisors do not need to login to HSPnet on a daily basis – an email will be sent to you if there are new placements assigned to you.
|
Step 1 – First Login to HSPnet
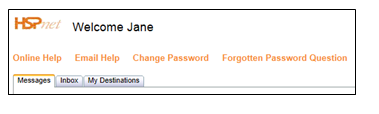
When you login again after completing the eLearning orientation, you will be greeted by your Welcome screen that is organized by tabs. It also offers these links:
Online Help – a link to Quick Reference Guides and training videos. |
|
|
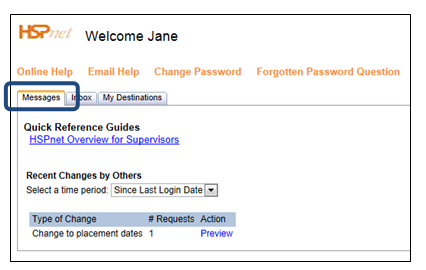
Step 3 - Review Your Messages
Your Messages tab has two sections:
Quick Reference Guides – links to this document for ongoing reference.
Recent Changes by Others – a list of updates and alerts from educational programs including changes to placement dates or destinations, or recent cancellation of a placement.
This section provides a "time period" filter to show past alerts that you may want to review again. The default view after login is "Since Last Login Date", which displays all changes made since your last HSPnet session. If you need a reminder of previous changes, change the filter to "past week" or "past month" to review older updates. |
|
|
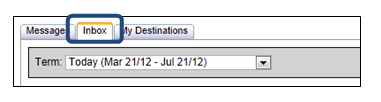
Step 4 - Monitor Requests in your Inbox
After login each day, your Inbox is filtered the time period or Term of "Today". The time period of "Today" will display all placements that are active now, even if they started before today, and for the next four months. Other options include the three academic terms (Winter, Spring/Summer, or Fall) plus "Past Term". |
|
|
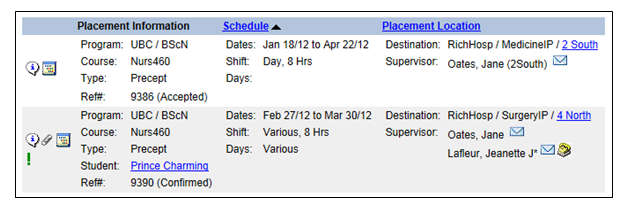
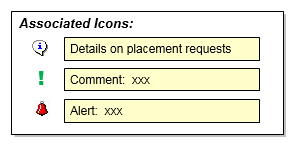
This inbox shows two preceptorship requests: one that is Accepted by the site but not yet confirmed by the school; the second request is Confirmed. a) We encourage you to explore features of your Inbox:
Note: a gray phone icon
|
|
|
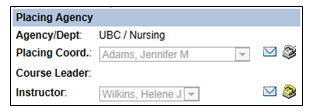
b) To view more information about a request, click |
|
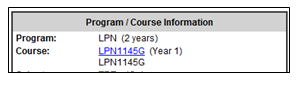
| c) Click the Course link, e.g. LPN11455G, to view the online course profile including document uploads such as evaluation forms. |
|
|
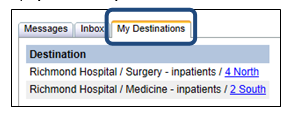
Step 5 – Review Destination Profiles
A list of the destinations where students are assigned are displayed in the "My Destinations" tab.
|
|