Student Admin - Expenses Management
Placing Agency Related Guide (PARG)
Summary: Expense claims from students can be tracked in the Expense Batch screen, which produces an Audit Report (for checking entries against claim forms and/or receipts) and an Upload Report (for upload to an external database). A read-only history of batched expenses is also available for each student in their Student Profile.
|
Creating an Expense Batch
The Expense Batches screen is available from the left navigation under Worksheets.
- Select the option to "Create New Batch" from the Batch Number dropdown.
 Enter the date and optional description for the new batch. Enter the date and optional description for the new batch.- Click to start the batch.
|

|
|
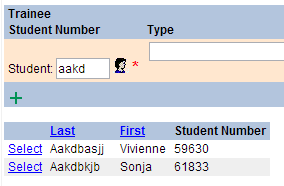
 Click Add to start data entry.1. Enter the student number or a few letters of the last name, and click Click Add to start data entry.1. Enter the student number or a few letters of the last name, and click
 to search for a student.1. From the resulting list of matches, click Select for the correct student. to search for a student.1. From the resulting list of matches, click Select for the correct student.
|
|
- Enter the remaining information for the expense:
- Type of expense and (optional) Explanation
- Gross amount (including taxes)
- Tax if you need to track these separately (e.g. GST)
5. Click  to start another row. to start another row.
- Select the student's name again from the search results to enter another expense for the same student, or perform a new search.
7. When finished entering expenses, click  to exit data entry mode. NOTE – you may wish to do this periodically to avoid losing data in the event of a network interruption. to exit data entry mode. NOTE – you may wish to do this periodically to avoid losing data in the event of a network interruption.
|

|
|
Auditing a Batch
- Click
 ; this will display new buttons to: ; this will display new buttons to:
- Re-open Batch – if needed to correct entries after the audit, or to add new entries
- Lock Batch – to finalize the batch before generating the CSV upload file
- Run Audit Report

2. Click  to generate the report, and click the resulting link to view the report. to generate the report, and click the resulting link to view the report.
3. If the audit identifies errors or missing entries, click  to edit the batch or add new entries. to edit the batch or add new entries.
|

|
|
Finalizing a Batch
- When all edits are complete, click
 and then click OK when prompted if you are confident that no further changes will be required. and then click OK when prompted if you are confident that no further changes will be required.
NOTE – a locked batch can be unlocked only with Help Desk assistance.
2. Click to generate the CSV file for upload to an external database, and click the resulting link to view the file and save a local copy. to generate the CSV file for upload to an external database, and click the resulting link to view the file and save a local copy.

|

|
|
Things to Remember
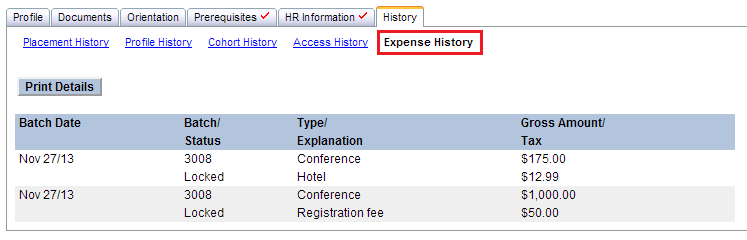
- A read-only Expense History is available for each student in their Student Profile.
https://elearn.hspnetapp.ca/training/
|
|


